

We will be using Java 11 in CS 200! Although other versions are available we will continue to use Java 11 throughout the entire semester since it is stable and has long-term-support.
Note: If you are using macOS Catalina, then choose Java 8, to avoid the “Failed to Create Java Virtual Machine” error during Eclipse installation.
AdoptOpenJDK
Oracle has been changing the licensing of its JDK such that you will have to pay for licensing in some circumstances. For our purposes, we suggest the freely available OpenJDK from https://adoptopenjdk.net/.
Note: If you go to Oracle for Java they will likely require creating an account and login on their site. We recommend using AdoptOpenJDK where the software is free and no logins are required.
In a browser, such as Chrome shown here, go to https://adoptopenjdk.net/
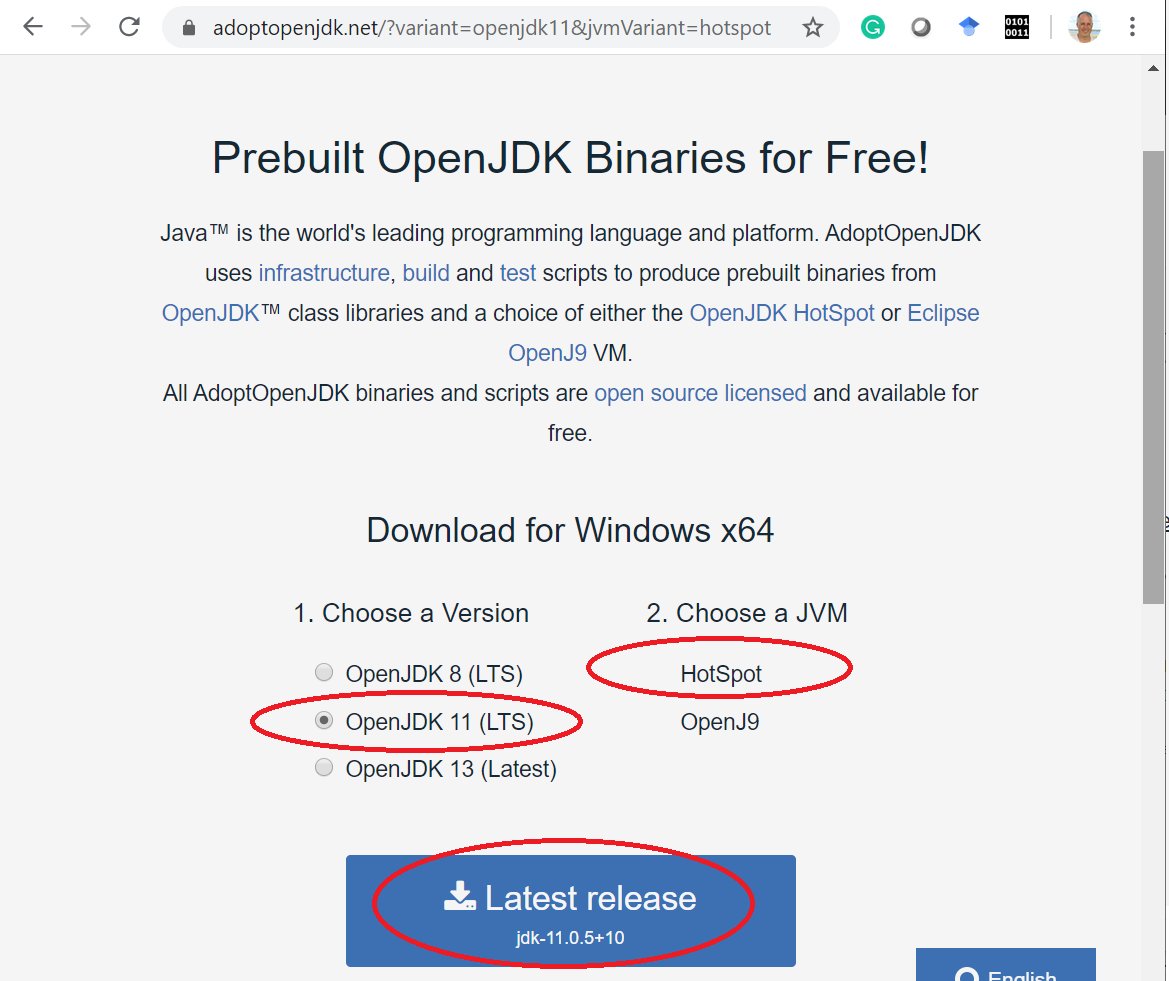
When it downloads, run the installer to install it.
Check Installation
Windows 10
In Windows 10, you can verify it is successfully installed with the Command Prompt.
Open a Command Prompt by pressing Windows and R keys together and then typing
cmd
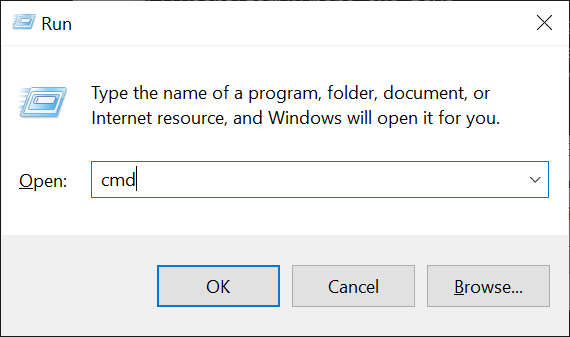
A Command Prompt window should open. Within it, type the following commands:
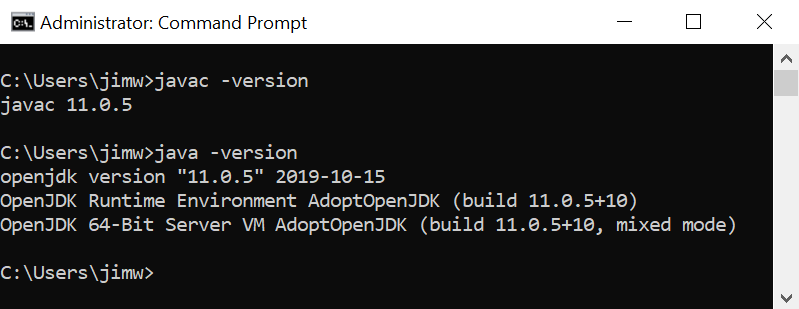
javac -version
java -version
You should see output similar to the following indicating that the AdoptOpenJDK versions of the Java Compiler (javac) and Java Virtual Machine (java) are installed.
Linux
Start a Terminal by pressing the Windows key on the keyboard and search for Terminal. Alternatively, you can use the shortcut Ctrl+Alt+T.
Upon startup, you should see the prompt as shown below:
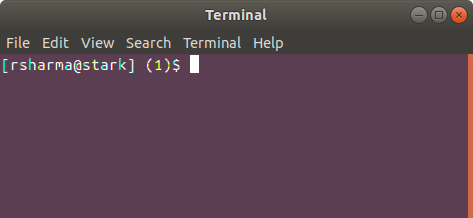
Within it, type the following commands:
javac -version
java -version
The output should be version numbers.
Next Tutorial: